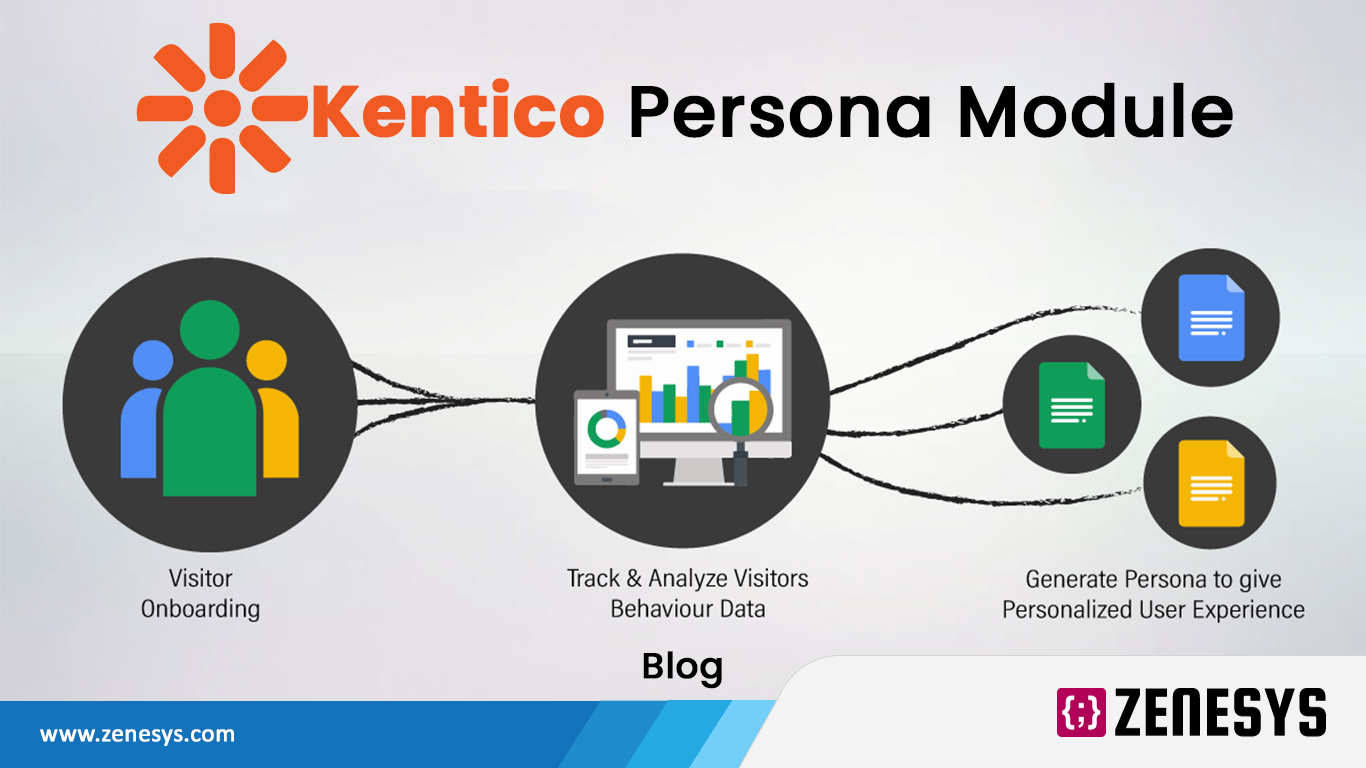
If you think it would help, we have the perfect solution for you using Kentico’s Persona module . The persona module can help you categorize users and recommend content to them according to their Persona. Not only can you define your own rules for each persona, but you can completely customize them to create the perfect personas for your website, thereby delivering accurate content and a personalized experience to all visitors.
So, What Is A Persona?
So, in a sense, Persona is a kind of category for site visitors.
To add a persona follow the simple steps given by Kentico. You may notice that a user can be assigned only one persona at a time.
How Do I Recommend Content To Users Using my New Defined Persona?
1. DEFINING RULES
Once you have designed a persona and saved it Kentico will assign users to the persona based on predefined rules. These rules are defined by you and can be as simple as the age of the user to more complex as to what the user usually browses on your site. It should be noted that at least one rule must be defined for each Persona.
Zenesys(a software development company) can help you define the rules for your site if you find all this too cumbersome.
2. ADDING PAGES TO A PERSONA
To recommend content to the users, we need to add pages to the Personas. Let’s say we defined a persona ‘A’ (‘A’ is the name here) which has users with gender as Female. We would like to recommend the users in ‘A’ some beauty articles. To do that we need to assign the Beauty articles to the defined persona.
In the Pages Application switch to listing and select all the pages you want to assign to the Persona ‘A’. Now all you have to do is navigate to the second drop down and choose Tag pages with personas. You will be prompted to select the personas to which the pages should be assigned. Choose ‘A’ and click OK confirm. Voilà, your pages have been assigned to the persona ‘A’.
it should be noted that a page may be of use to other Personas and you should probably assign a single page to multiple Personas.
3. RECOMMENDING PAGES USING A WEBPART OR WIDGET
Now that we are all set, we need the users to see some recommendation. To do this select the page you want to show the recommendations on. Now we can add a simple Persona-based Recommendations webpart or widget.
Also Read: Umbraco 9 is Now on .NET 5 And ASP.NET Core
- To add a widget simply open the widget zone’s menu and select the Persona-Based Recommendations under the Online Marketing folder.
- Once you have selected the widget, a dialog box to specify the widget properties appears. You may leave it as it is as the widget is configured to show the latest articles according to the persona. Click on OK to confirm and you are good to go. Users will now see recommendations according to their persona when they visit the page.
- To add a webpart simply place the webpart for Persona-Based Recommendations on the page. A dialog box to configure the properties of the webpart will appear.
- Define the path for the pages you want to recommend to the user. In our example, maybe all the beauty articles are housed under the beauty articles folder. Select the path to beauty articles. Click on OK to confirm.
There, now you are all set to show the users content recommended for them while they are still browsing the site making the browsing experience more personalized.
To know more about how Zenesys can help you set up a website or find an E-commerce solution using Kentico feel free to Contact Us with your query.


.webp?lang=en-US&ext=.webp)

.webp?lang=en-US&ext=.webp)
